

How To Wax Your Snowboard in 10 Easy Steps
Ahhhhh, to wax or not to wax, that is the question? Wondering how to wax your snowboard in 10 easy steps? If you are a member of this blog, most likely you perform some sort of snow sport. If not, prepare to get educated.
We get asked all the time,
“How often do you wax your snowboard?”
After this the question arises,
“How do you wax your snowboard?”
There are dozens of competing opinions on the ‘correct’ way to perform a snowboard wax but this is OUR way. We have been doing this for over a decade now but by no means is it perfect. This will be for the average snowboarder who no longer wants to get price gouged at the resort and has the time to do so. Yes, I am sure we are missing small pieces of information here but feel free to comment below if we are missing something dire…
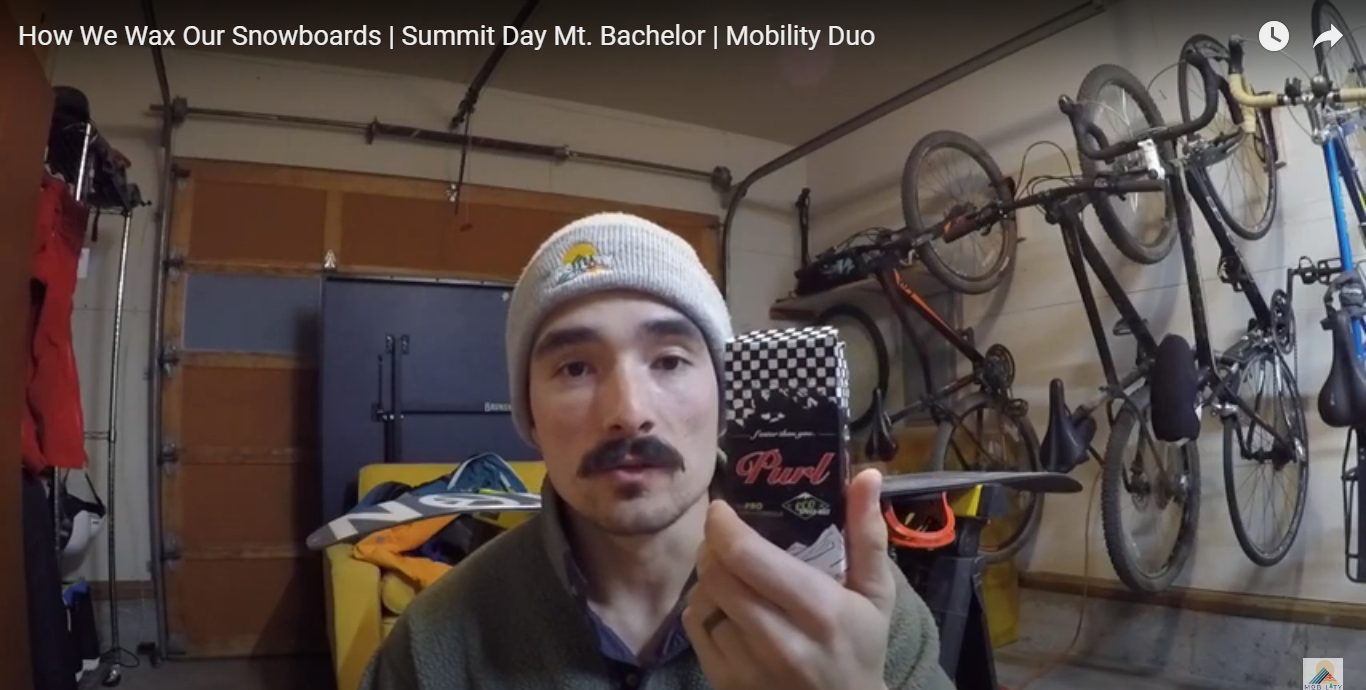
If reading is not your jam, feel free to watch our YT video with all of the same ingredients but delivered in a different format.
What you will need:
- Wax – We use Purl Wax because we love it. Click here and use our code MOBILITYDUO for 15% off your first order!
- Iron (Doesnt need to be fancy, go to Goodwill if you need to)
- Scraper, these are cheap
- Screwdriver to loosen bindings
- Surface to secure board/ Skis to while scraping. We use old saw horses because they are cheap
- Space to wax! A garage works well but be mindful of extra wax on concrete, it will turn it into a skate rink
- Broom to sweep up wax
Optional:
- Variety of brushes to buff out and fine tune at the end
- Buff pad
- Eco Base Cleaner to clean pores and remove contaminants
- Scraping sharpener to keep it extra sharp!
- – Camera for a job well done photo
Why:
We wax our snowboards/ ski’s to create a frictionless surface that glides across the snow. The less friction you have, the faster you will go, more control you will have, and less edges you will catch. Ultimately, if you want to have more control over not getting injured, wax your snowboard (by no means is this scientific but it certainly helps). Lastly, a freshly waxed board is so much more fun on the mountain!
How often:
Every 3-4 times on the mountain. This is snow/ ice dependent especially if your board has been scraping ice all day (Will need it more often).
Time:
We dedicate 45 minutes to 1 hour to wax 2 snowboards the night prior
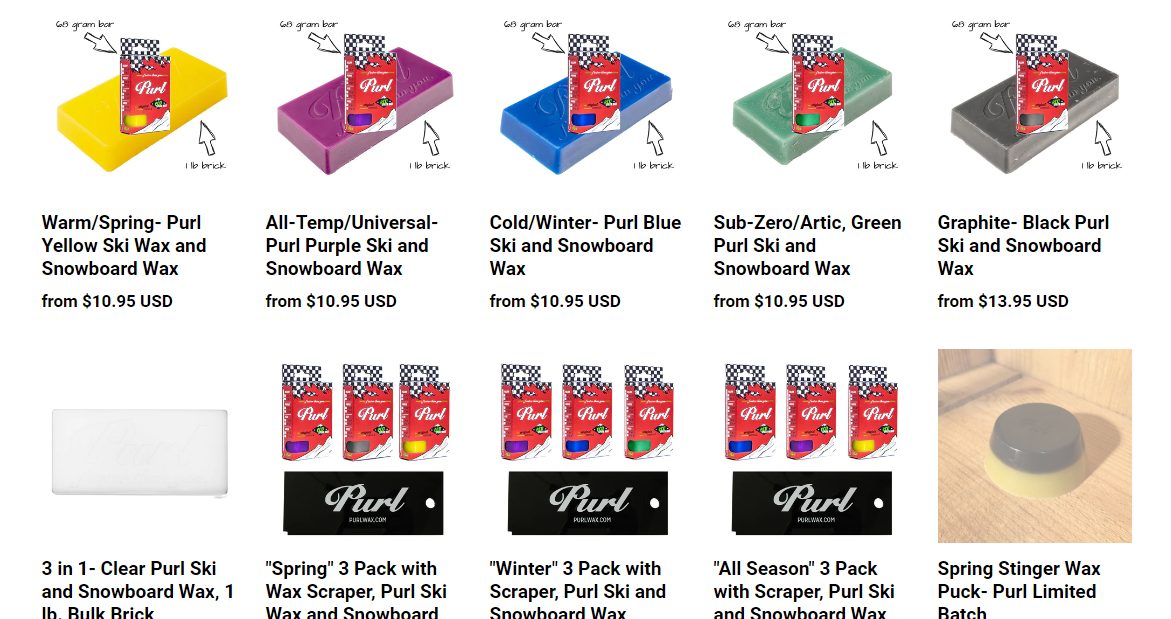
Different types of wax:
Companies make different types of wax for specific temperatures. You will normally find a type for spring, cold, ad normal conditions. Each one is specific to the temperature to provide the maximum frictionless surface and longevity in your riding. For example, you would not want a spring wax in extreme cold/ icy conditions as they are not conducive and the wax would most likely scrape off quickly due to its softness.
Step by Step:
Step 1: Half turn each binding screw. The idea here is as you heat up the base of the board, the compounds expand and contract ultimately compromising the screws. We only recently started doing this but its so easy, why not?
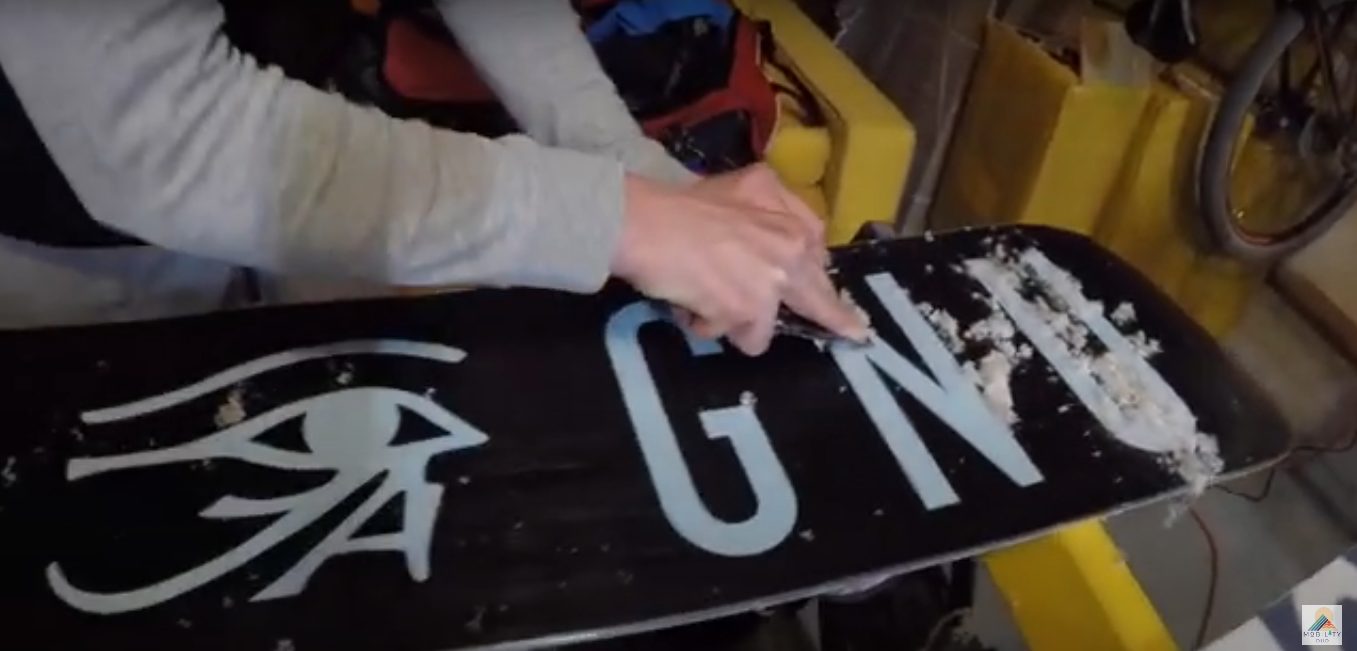
Step 2: Scrape off all old wax until you reach the base of the board. You will know when excess wax stops peeling off. Do not forget the tail ends as these have a tendency to build up and get missed. Wipe off excess with a rag so the surface is clean.
Step 2.5 (Optional): Prime the base with a pre wax primer to open the pores and clean the surface to allow new wax to hold better.
Step 3: Crank your iron up to 125 degrees C or more (Depending on wax type) and allow it to heat up. Move the wax along the edge of the iron so it begins to drip onto the surface of the board. I like to make 3 long beads on the base, 2 on the side and 1 down the middle. This may require a little practice to know exactly how much to use but in the beginning, I would say it is alright to use more versus less as its easier to work with.
Step 4: Take your iron and start rubbing it on the boards surface by spreading the wax evenly on the surface. You want no ‘windows’ of waxless surface here. You may need to get low and turn your head to see the lights reflection. We were told not to move the iron in a circular motion but rather a long sweeping motion (This is what we were told, not sure why).

Step 5: Once the wax is evenly spread across the base, we allow it to cool for 20-30 minutes as it hardens within the pores and base. Time to relax, kick your feet up and grab a juice.
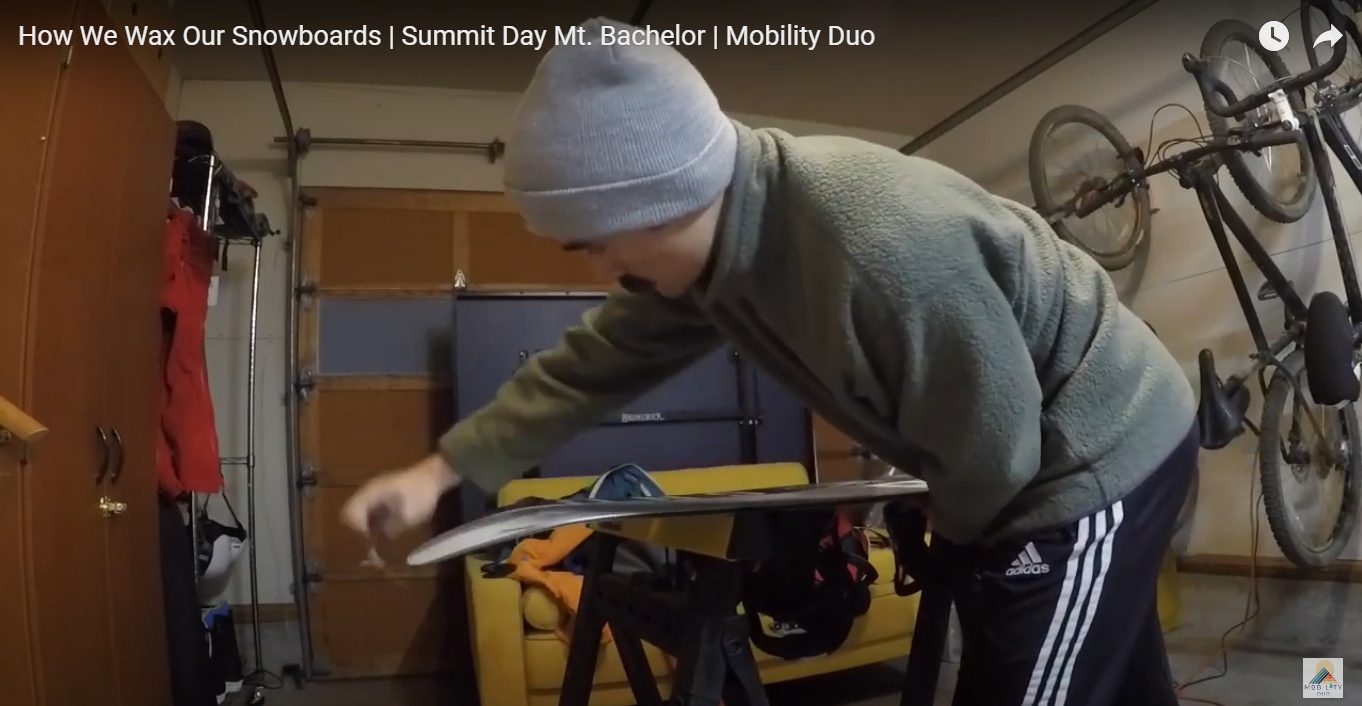
Step 6: Lay the board back down and now its time to get your sweat on. Using your scraper, angle it 45 degrees and begin removing excess wax from the base. This process takes time to know exactly when its ready but continue using your hands to feel the base and your eyes to see any chunks/ surface friction. You are looking/ feeling for a smooth surface and may take off a lot of wax until you achieve his goal. While its difficult, try to run your scraper long ways to replicate the snow running across the bottom versus small chunky scrapes. If you have the optional items continue, otherwise skip to step 9.
Step 7 (Optional): Firm brush strokes or buff pad across the length of the board to mirror the snow surface. Again, I may do this for 5 minutes until the surface is in a mirror like state. I would then take a softer brush to finalize the process and really take on a sheen for the snow surface.
Step 8 (Optional): If you have an edge tuner, feel free to sharpen your edges to your desired specification. If you are jibbing rails, you may want to keep these dull. If you are on icy like surfaces, sharpen those suckers!
Step 9: Grab that screw driver and re tighten those bindings. Be sure not to over tighten but enough to secure the bindings in place.
Step 10: Time to clean up! Use your broom to brush all that excess wax up and keep a clean work environment.
There you have it folks! After the wax, it is time to enjoy the fruits of your labor and enjoy the extra money in your pocket for food, beer, and more wax.
Go forth and shred
– Mark
Responses