Beginners Guide To Snowboarding Like a Pro. Updated 2023
This is your beginners guide to snowboarding like a pro. By no means will this cover everything but it should provide a great base before your first day on the slopes. It has taken me years to learn about this sport and I continue to learn more as time passes. There is a unique culture behind snowboarding and it is important that we learn briefly about the history before diving in.
History
1917 – A 13 year-old by the name of Vern Wicklund stands on a modified sled in Closet, Minnesota. He patents the idea two decades later.
1965 – Sherman Poppen, a Michigan native, creates ‘Snurfer’ bracing two skis together and adding a string for steering. He sells nearly one million units.
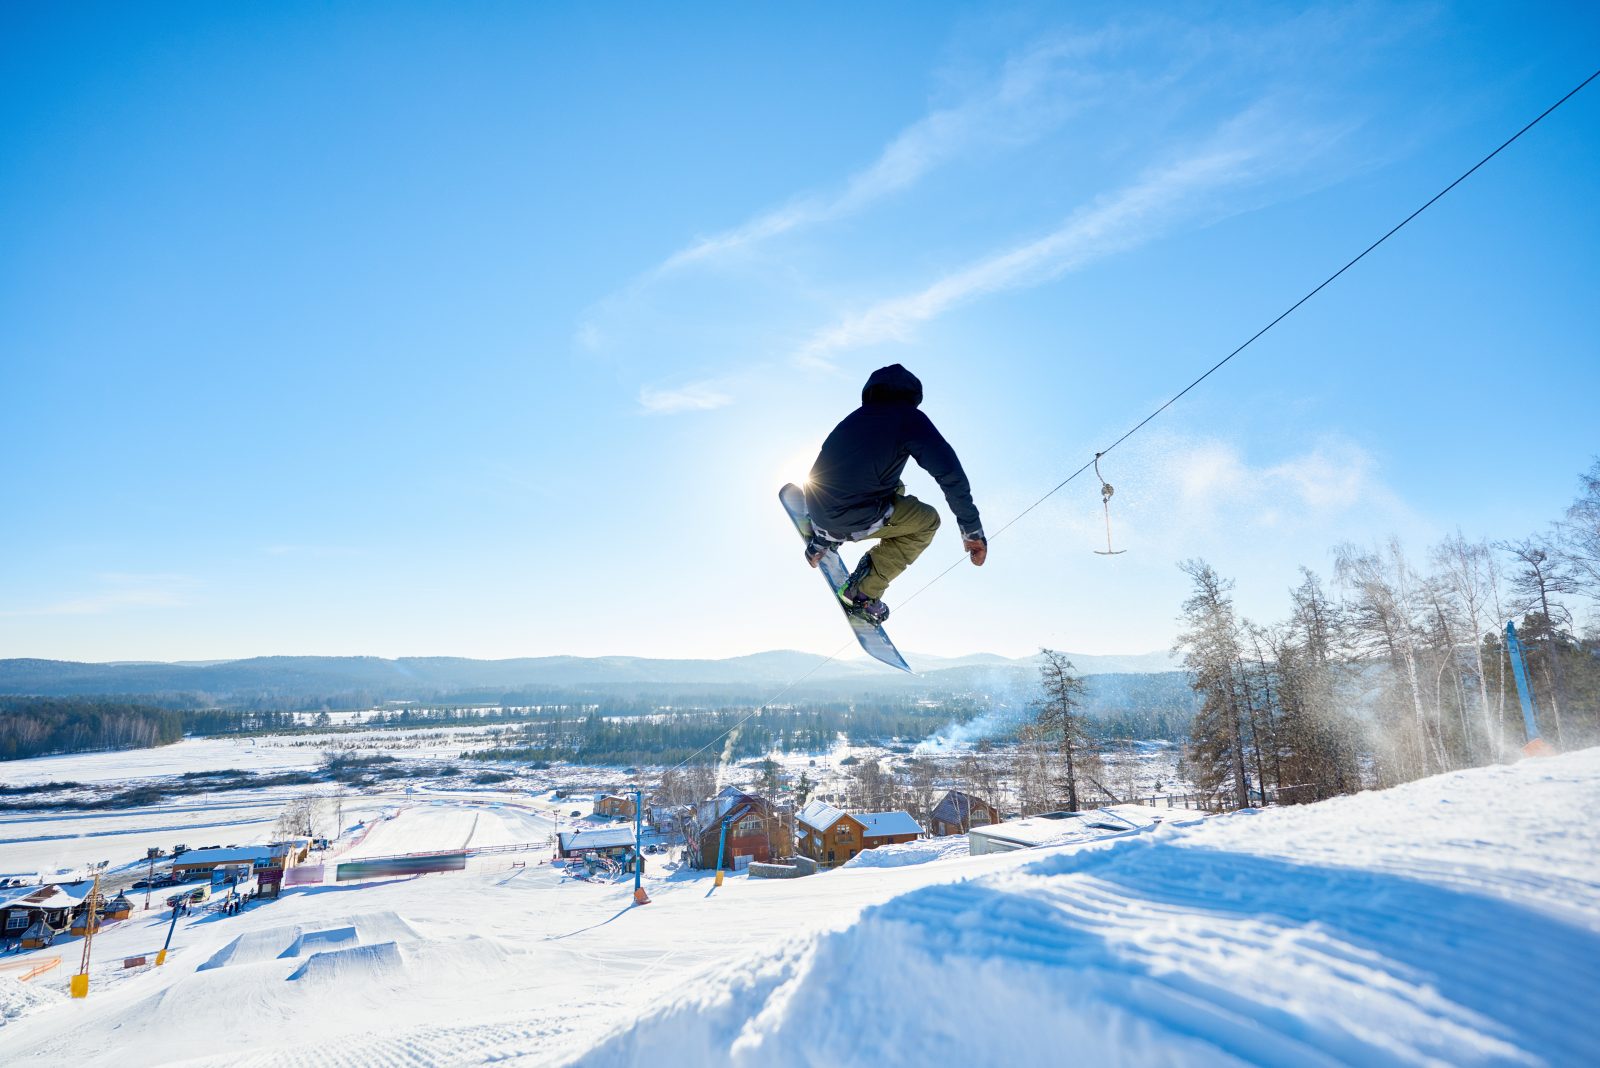
1972 – Dimitrije Milovich, a Cornell dropout, founds Winterstick, the first modern snowboard company.
1976 – Tim Sims, a professional skateboarder, creates SIMS Snowboards
1977 – Jake Burton Carpenter, a race enthusiast, creates Burton Snowboards and is credited with coining ‘ snowboarding.’
1980’s – Most North American ski resorts ban snowboarding due to the reputation of counterculture to the well established ski culture.
1990’s – Almost every ski resort in North America now accepts snowboarders to their resorts.
1998 – Snowboard halfpipe debuts in the 98′ Winter Olympics drawing the most viewership. Skiing halfpipe would not appear until 2014.
2000’s – Snowboarding continues to grow into a world wide phenomenon and is expected to reach an estimated $4.3 billion in revenue by 2022.
Who is the Author?
Hi there, my name is Mark and I am passionate about snowboarding. When I am not on the mountain, I am a Doctor of Physical Therapy working primarily with snowboarders for injury prevention or rehabilitation. I am by no means an expert in snowboarding, merely its biggest fan. There are so many moving pieces in this industry and I respect all avenues as they are all equally important. If you would like to know more click here.

Common Snowboard Terms
Backcountry: Unpatrolled wilderness terrain with unpredictable topography, random natural obstacles (trees, cliffs) and no marked trails; detached from resort amenities. Also known as off-piste terrain.
Backside: The area behind a rider’s back in a halfpipe or during a trick off a wall. Also, the spot where heels rest on a snowboard.
Blindside: Any rotation in which the snowboarder is blind during takeoff or landing. A clockwise rotation for regular riders and a counterclockwise rotation for goofy riders.
Bumps: Moguls or snow mounds.
Camber: The curved or arched shape built into a snowboard, which gives it spring and pop on groomed runs. When placed on a flat surface, a cambered snowboard rests on its tip and tail, and the center is raised. The opposite of this design is reverse camber, or rocker.
Carve: A turn using the edge of the snowboard.
Chatter: Snowboard vibration experienced at higher speeds and during turns.
Chunder: Irregular, sometimes large clumps of snow such as snowcat debris. Sometimes also called chunk.
Edge: Sharp, smooth metal strips around the bottom perimeter of a board.
Flex: A snowboard’s receptiveness to twisting along its length (longitudinal flex) or across its width (torsional flex).
Frontside: Any maneuver using the toe edge of the board.
Freestyle: Performing jumps, spins and tricks; riding on rails, boxes and in the halfpipe.
Goofy: Riding with the right foot forward (as opposed to regular, or riding with the left foot forward).
Grab: Using 1 or both hands to hold either edge of the snowboard.
Grommet (Grom): A small, young snowboarder.
Hardpack: Firm, almost icy, fast snow.
Heel Edge: The edge where the heels rest.
Heelside: The edge of the board closest to the rider’s heels.
Jib: Riding on a surface other than snow.
Jerry: Often a new rider not knowing the ‘ins/outs’ of snowboarding.
Kicker: Jump ramp.
Lead Foot: Foot closer to the front of the board.
Line: A rider’s chosen path.
Moguls: Large bumps and mounds in the slope, sometimes tightly spaced.
Nose: The front tip of the snowboard.
Off Piste: Unmarked, potentially unstable backcountry terrain without lifts, patrols or other resort amenities. Piste is a French term for a marked trail.
Regular: Riding with the left foot forward (as opposed to goofy, with the right foot forward).
Run: A slope or trail.
Shred: To ride fast and stylishly.
Sidecountry: Backcountry terrain that lies just outside of resort boundaries. It is usually accessed through marked gates. Following a descent, snowboarders often must hike back to a lift.
Slam: To crash.
Speed Check: Sliding sideways to slow down.
Spin: Turn.
Stance: Position of the bindings on the board.
Stance Width: The distance between the bindings and the center.
Stance Position: The distance between the stance center and the board center.
Stoked: To be excited.
Stomp: A good landing.
Switch: Riding while facing backwards. A more contemporary term for riding fakie.
Terrain Park: An area of a resort set aside for freestyle (tricks, jumps and spins).
Tindy: Snowboarding Faux pas = Incomplete grab
Toeside Turn: Making a turn on the toeside edge.
Torsional Flex: The amount of twist a snowboard exhibits across its width (edge to edge).
Traverse: To ride diagonally or perpendicular to the fall line.
Tree Well: A hole in the snow surrounding a tree.
Tuck: A crouched position used to reach higher speed and lower wind resistance.
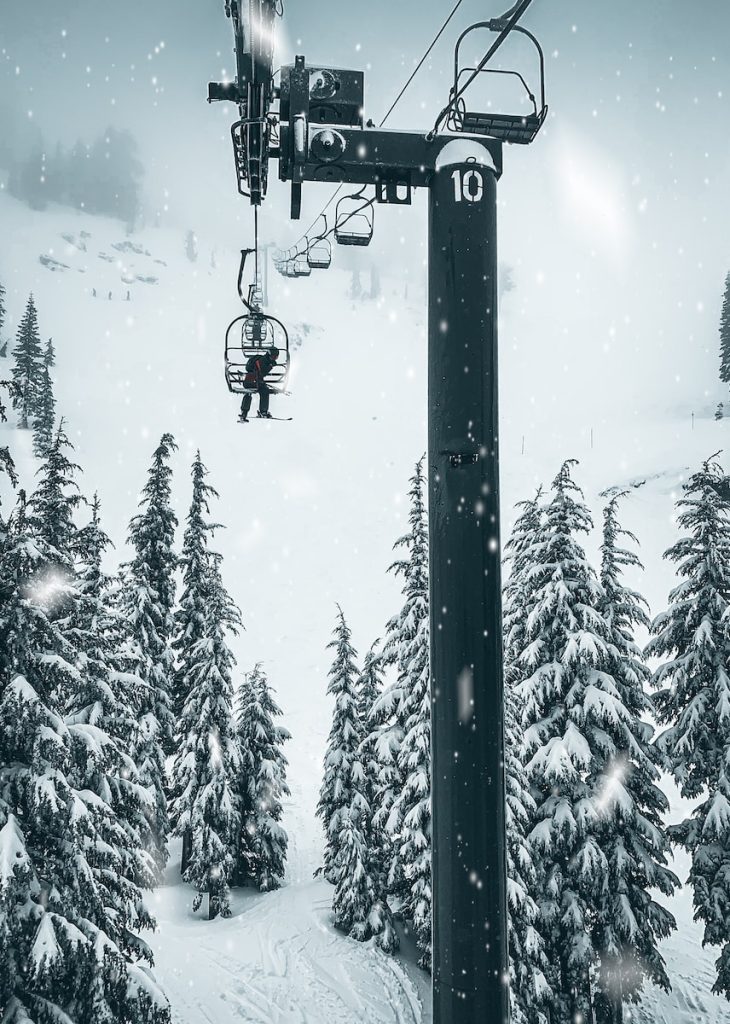
What are the seasons of snowboarding?
Living in the Western Hemisphere, most resorts in the USA open mid November – mid April. This is due to contracts with the Forest Service so even if there is snow available, the resort is required to close. Other places such as Timberline Lodge on Mt. Hood, Oregon can stay open nearly year round due to their private ownership and unique snow-base. Ultimately, it comes down to if there is snow available. Mother Nature dictates this and is owned by no one.
Types of Terrain
Each rider has their preferred snow terrain. It is one the beautiful aspects of snowboarding/ skiing that makes this such a diverse sport.
Free ride Trails (Groomers): Most common trails at any resort. These are groomed daily and can range from mellow to heart dropping steep. These also range from short and sweet to requiring multiple breaks depending on the run/ resort.
Moguls: Skiers love these, most snowboarders are tolerant. These can develop naturally on runs and incorporate large bumps that require precise edge control and strong knees.
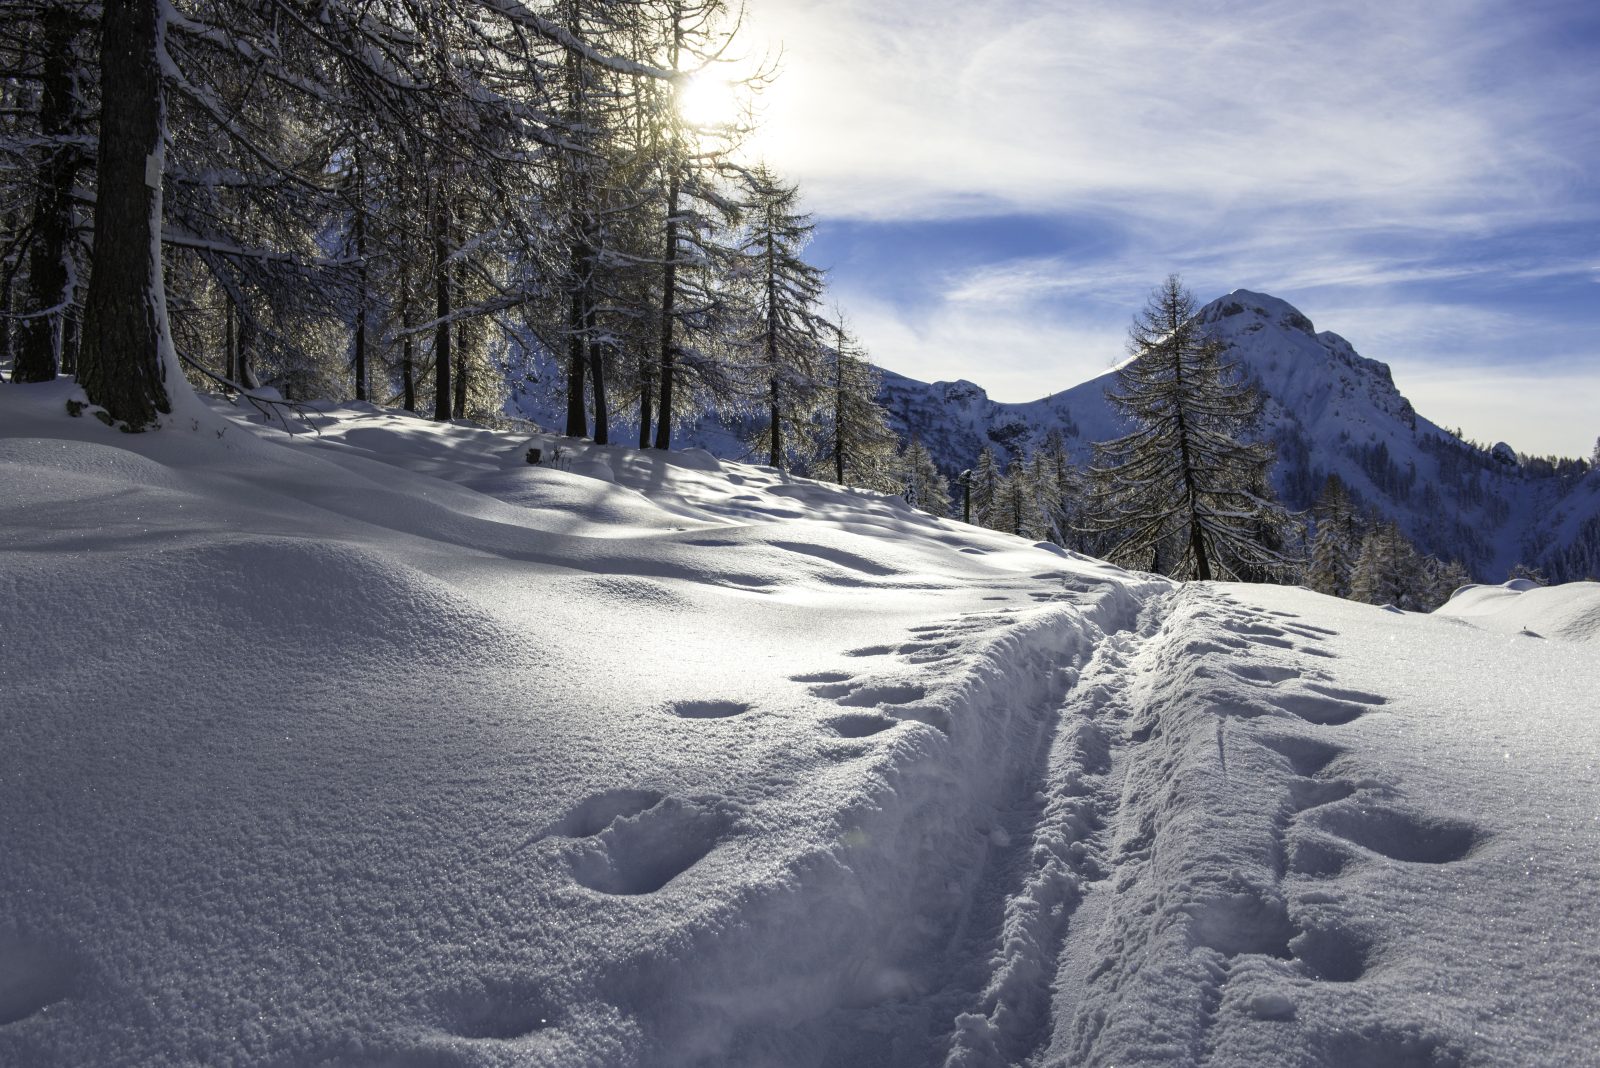
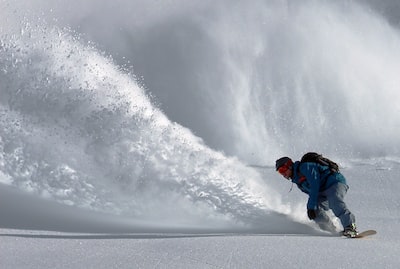
Backcountry: These are unmarked and ungroomed. Often, as you improve in your skill you will chase ‘fresh tracks’ and untamed terrain. This terrain requires a level of skill and knowledge due to the uncertainties and dangers of backcountry riding including tree wells, avalanches, animals, and overall safety with injury.
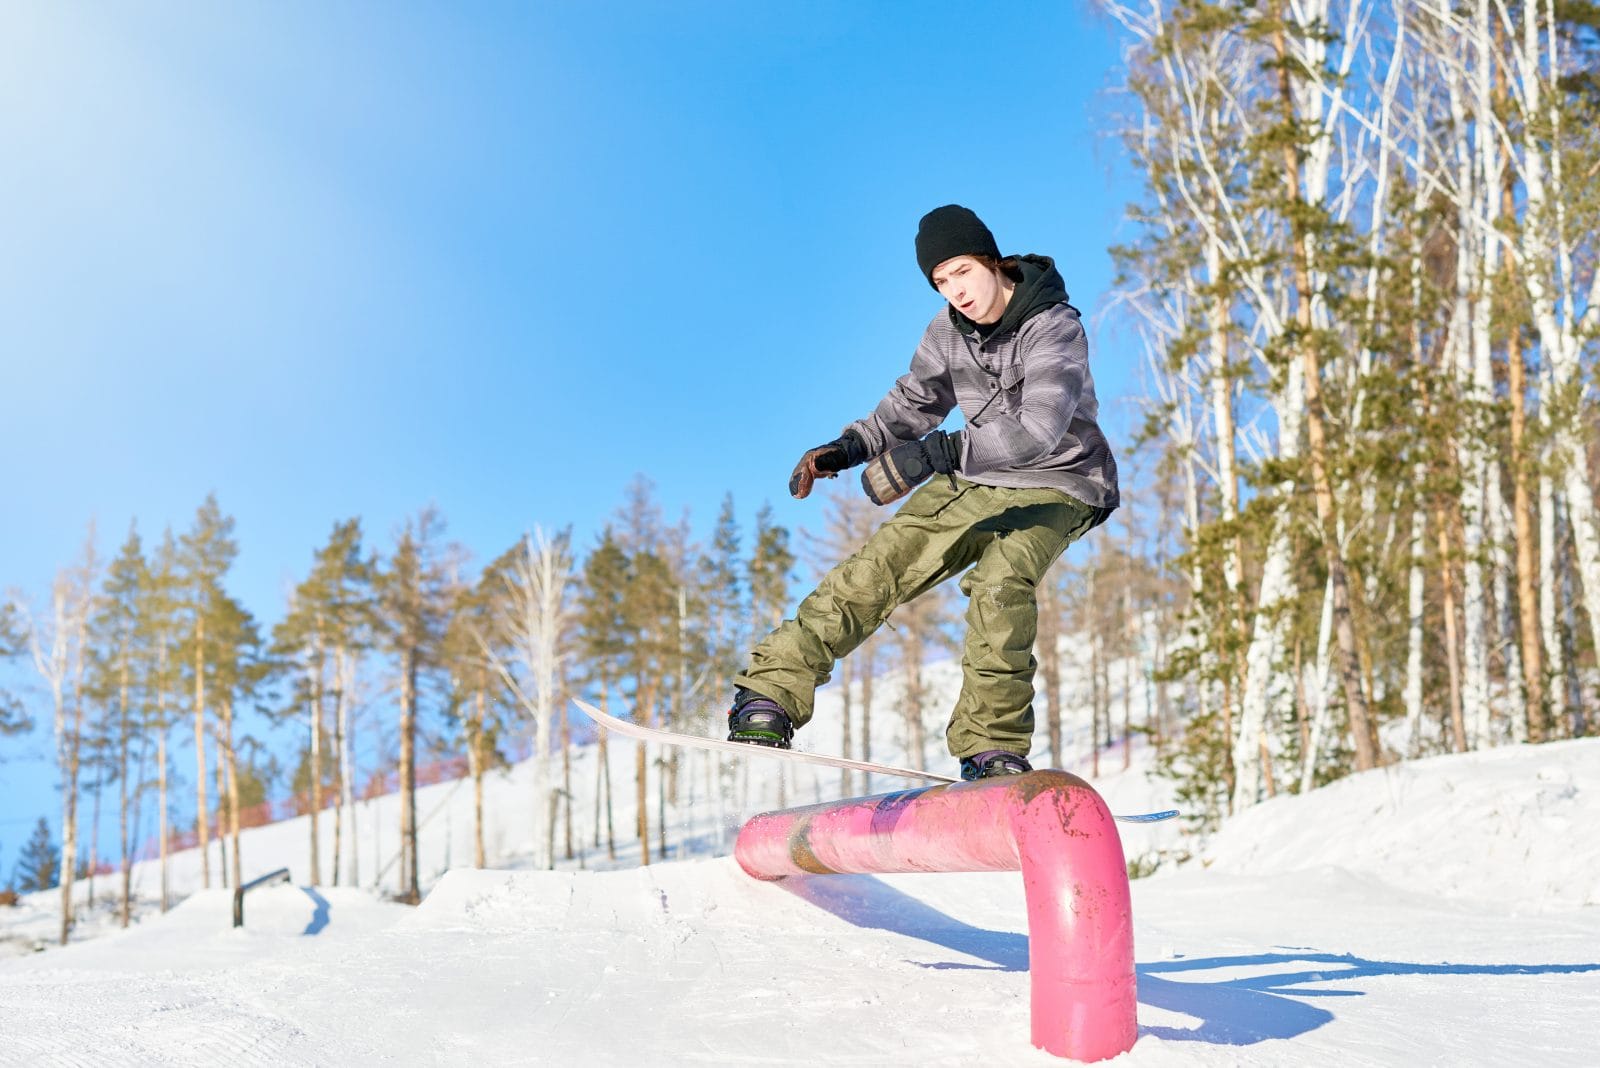
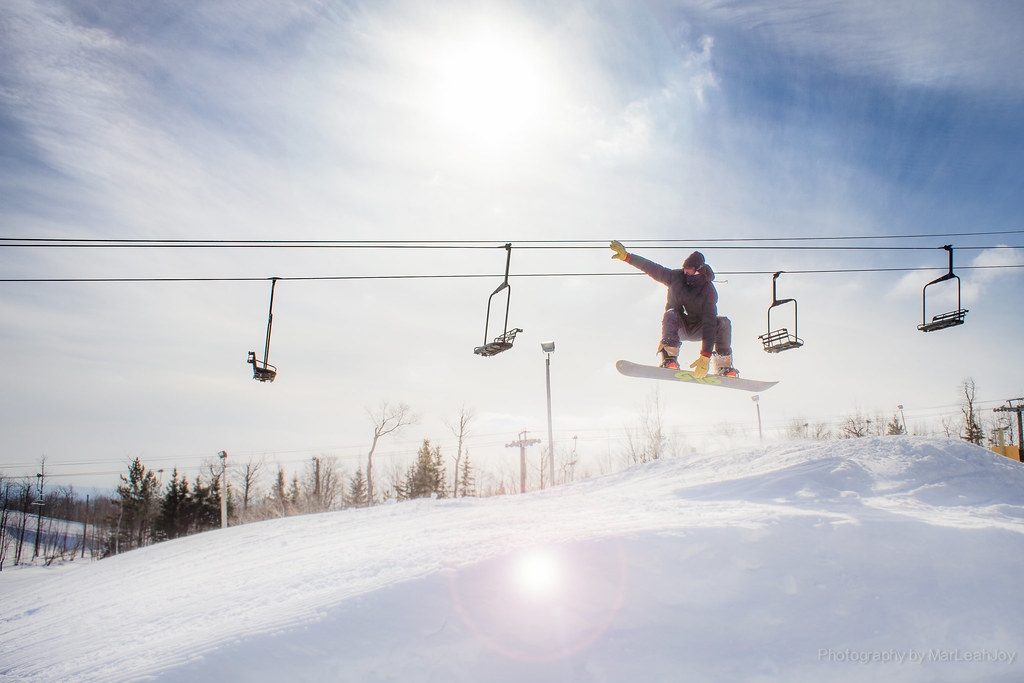
Terrain Park: Normally, resorts will have multiple terrain parks for beginners, intermediate, and advanced riders. These can include half pipes, kickers, rails, obstacles, etc. These are great to hone your jumping skills that will translate well to free ride runs and backcountry.
Difficulty Ratings
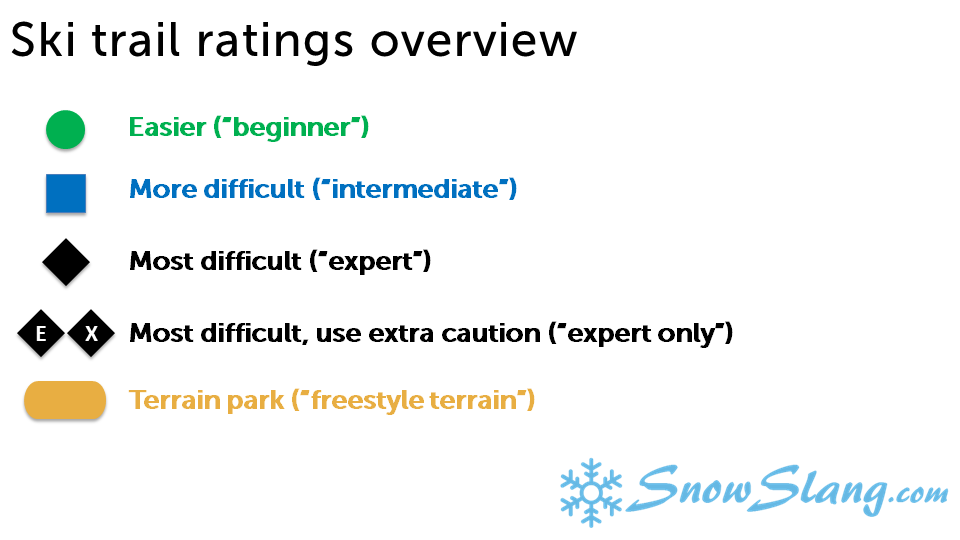
As long as you can remember the colors and what they mean, it is easy to tell the difference. You start easy and slowly move to more difficult terrain appropriately.
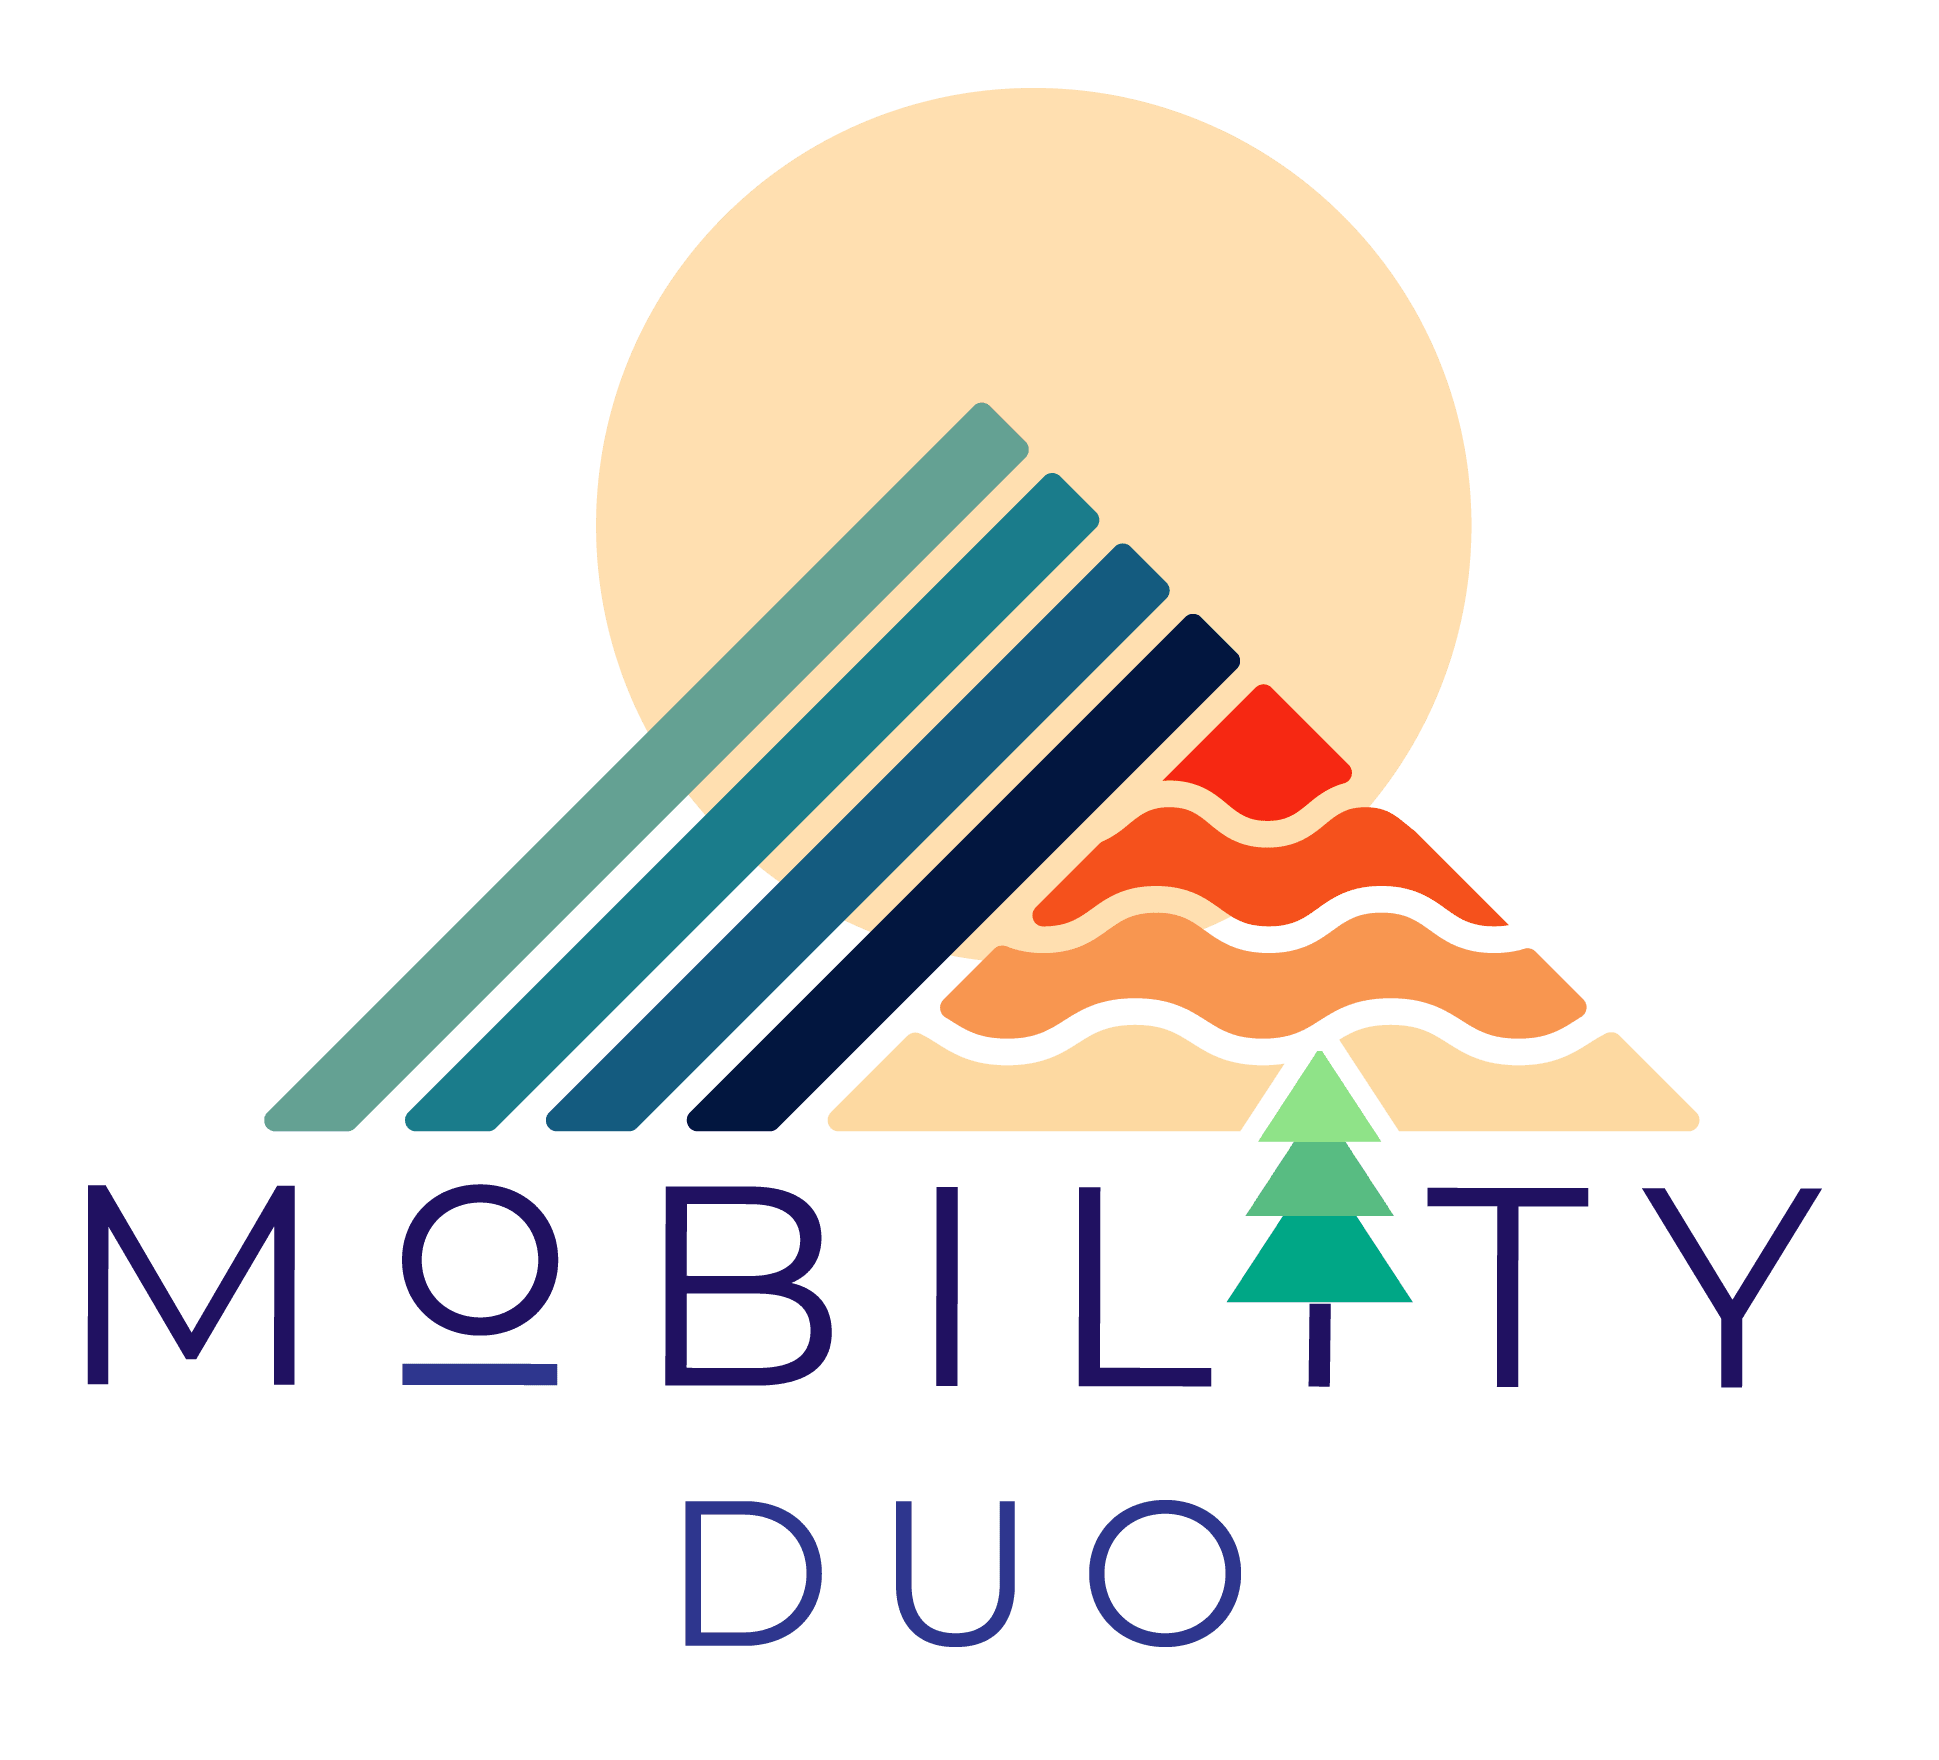
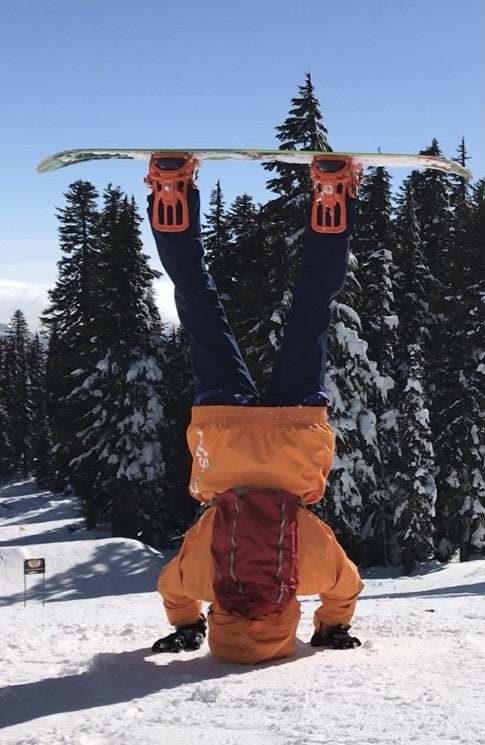
Regular Versus Goofy Rider
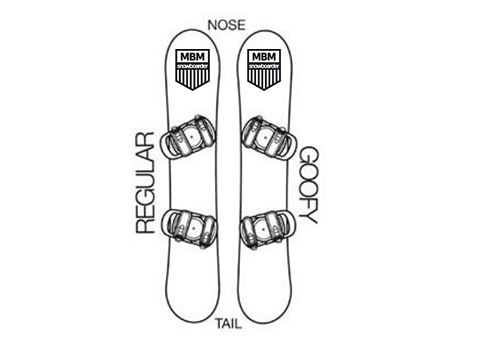
As you can see in the photo, a regular rider has their right foot forward. A goofy rider will have their left foot forward. If we refer to someone riding ‘Switch’ they are simply riding the opposite of their normal stance.
Common Tricks
180 (Frontside/ Backside): Rotating 180 degrees towards the left or right
360 (Frontside/ Backside): Rotating 360 degrees towards the left or right
Shifty: Usually the front leg is boned, with the upper torso and lower body twisting in opposite directions before returning to normal.
Mute Grab: The front hand grabs the toe edge either between the toes or in front of the front foot.
Indy Grab: The rear hand grabs between the bindings on the toe edge while the rear leg is boned. The board position is higher than the rider’s head.
Nose Grab: Grabbing the nose with the front hand.
Tail Grab: The rear hand grabs the tail.
Melon Grab: While the front leg is boned, the front hand reaches behind the front leg and grabs the backside edge in between the bindings.
Stalefish Grab: While the rear leg is boned, the rear hand grabs the heel edge behind the rear leg and in between the bindings.
Backflip: Inverting upside down back to normal
Tamedog: Pressing your nose off an elevated surface, performing a somersault (without hands) landing back in snowboard stance position.
Method Grab: Both knees are bent, the front hand grabs the heel edge, and the board is pulled level with the head.
Butter: Maintaining either tail or nose against ground while lifting opposite end, bending the snowboard.
Gear Required to Snowboard
A major factor in choosing gear is the time of year you are snowboarding and current conditions. This is all so variable but let us assume you are going on a ski vacation mid winter. The conditions will be moderately cold with good visibility. Here is what I recommend and use from my affiliate links. Check them out to give you a better idea of what to look for:
Socks
Thermal underwear
Thermal Top
Snow pants
Jacket
Gloves
Helmet
Goggles
Beanie
Padded Shorts
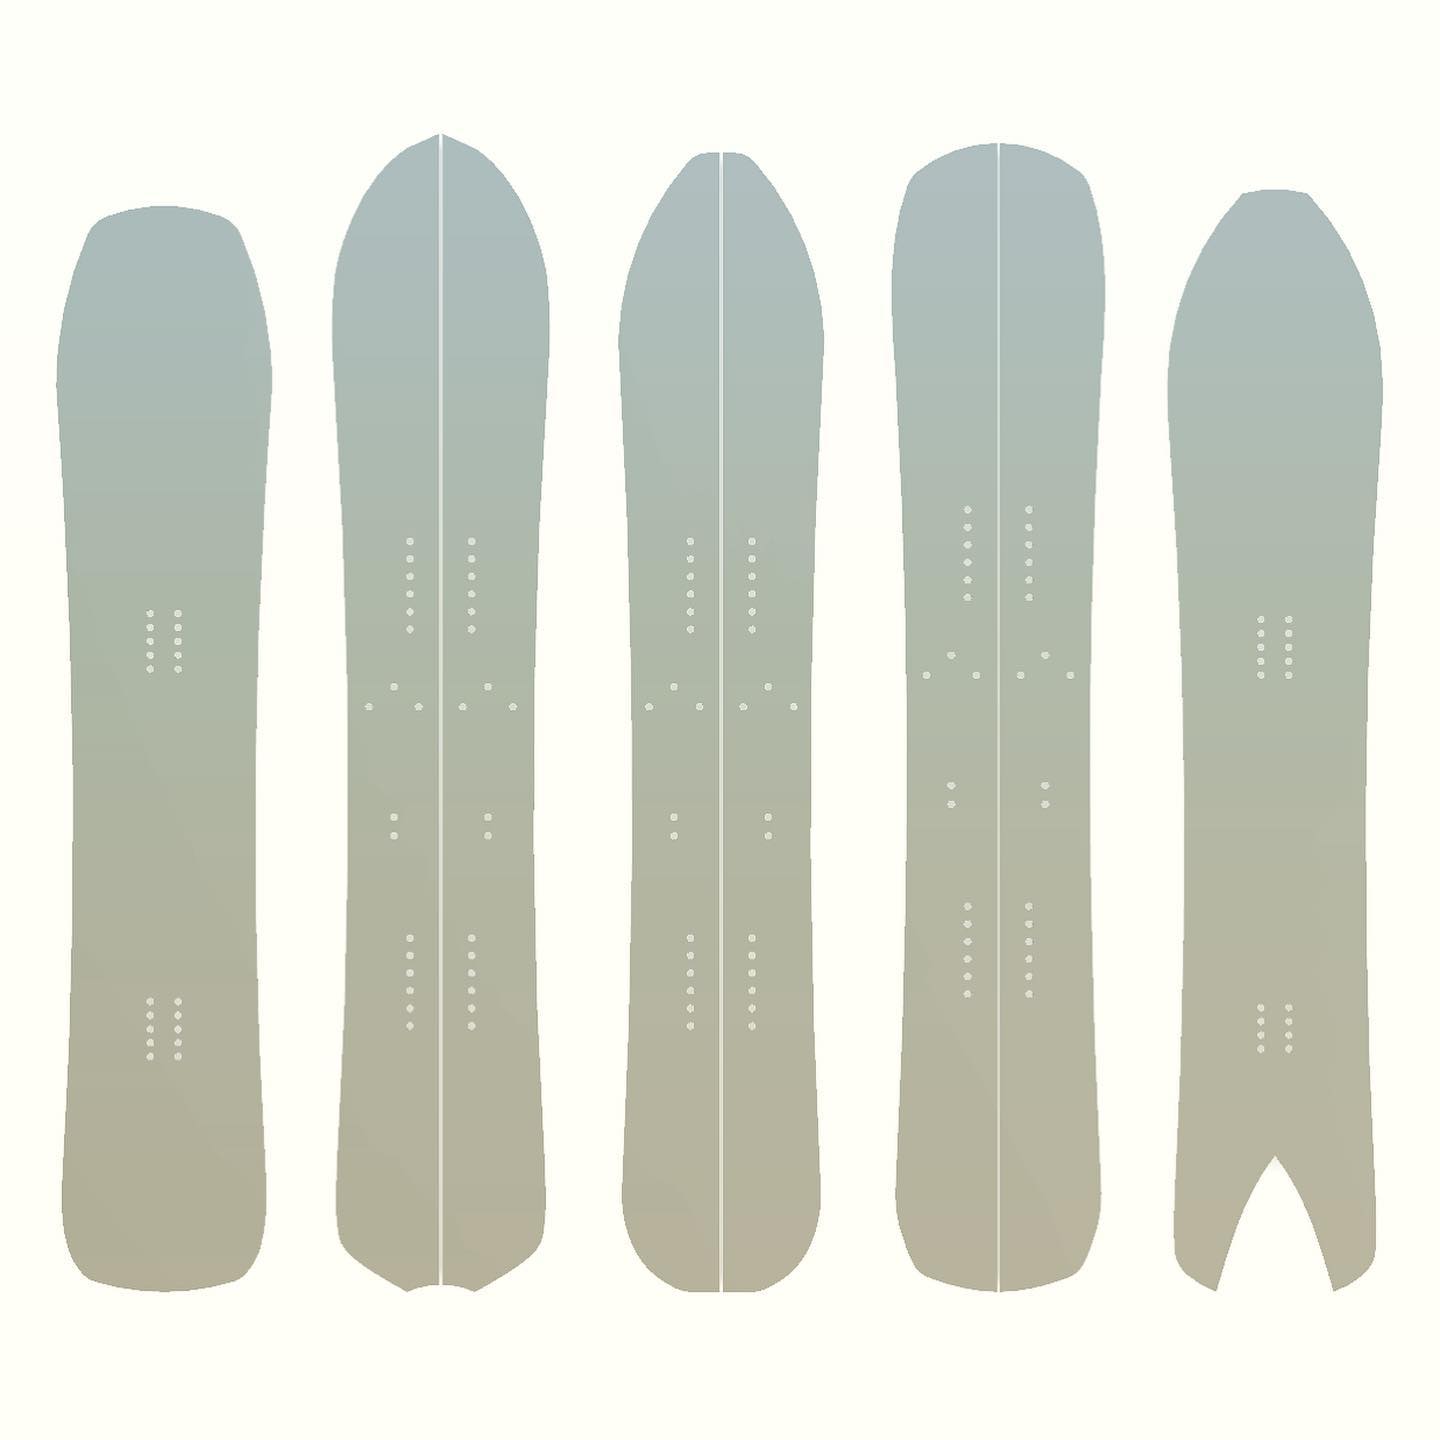
Types of Snowboards
Snowboard technology is developing and growing every year. Companies release the latest and greatest technology and tends to be a great mix between marketing and innovation. One thing is certain, there is a certainty with the ‘type of snowboard’. If you want to know more on choosing the right size board for you, I would recommend REI’s website here. Beyond this, if you are looking to rent, your local resort experts are a great resource and happy to answer any/ all questions. Here are the 5 main categories of snowboards:
All–mountain: Best for any terrain and normally my suggestion for those just getting started.
These are great for beginners who may not know yet what terrain they enjoy the most or what’s available. I like to look at what Im riding most often. Most likely, it will look something that requires an all-mountain board.
Freestyle: Great for park. Normally shorter, more flexible and evenly shaped. These are for those who like to be playful in out of the terrain park and need something a bit more maneuverable.
Freeride: Best for ungroomed snow in any terrain. Often a directional shape that you can only ride one direction, these tend to be stiffer for those who like to ride off groomers. These need to be fast in powder and able to make responsive movements.
Powder: Great for deep powder snow conditions. Everything about this is developed for the love of deep powder. They are more than often wide, directional, and technologically developed to cruise.
Splitboard: Best for backcountry and covering untamed terrain. Able to split apart so you can travel over snow, they can reconnect back into a snowboard to descend the mountain. This is a specialized category of snowboarding that requires more extensive training, knowledge, and gear.
What Size Snowboard Should You Ride?
Again, it depends! Checkout REI’s site here for more information.
Stance Width
Similar to above, it really depends on what terrain you are riding and conditions. Most commonly, you will stand shoulder width, feet equally distanced on the board. Checkout REI’s site here for more information.
Foot Angle
Checkout REI’s site here for more information.
If you want to ride switch, I recommend having a 15 degree duck foot position with both feet. Experiment with your stance prior to riding and even during!
Snowboard Technology: Camber versus Rocker
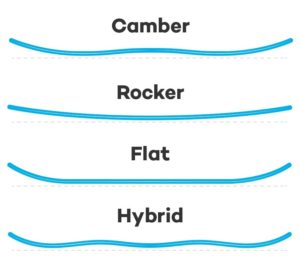
Snowboard shape is a tricky one but hopefully this quick explanation will help. The shapes above all have a distinct design but just know, the goal with design is to manipulate pop and friction. Pop means utilizing the shape to create force ad momentum to lift the board off the snow surface. Friction means lessening to resistance from the shape to gliding over the snow. Depending on what you want more will determine what shape is most appropriate.
Camber: Often delivers a stable ride and provides ample pop/ responsiveness in hard to turn snow. This is great for those who love to ride fast in varied conditions.
Rocker (Reverse Camber): The tail and nose are upturned like a bowl. This is ideal for powder conditions or jibbing rails in the park due to less chance of catching an edge. These are very often more flexible than camber boards and great for novice snowboarders as they can be more forgiving on mistakes.
Flat: These are great for responsive turning and more ‘float’ on powder like conditions.
Hybrid (Camber/ Rocker or Flat/ Rocker): Probably the most common shape I see with snowboards now incorporate some sort of hybrid. These take the best of both worlds and combine them into one. Depending on the manufacturer, they may advertise more pop, more stability, more responsiveness, etc.
Choosing Boots:
Your boots may be the most important part of your snowboarding set-up. Your feet are the foundation to your stance and trust me, if you are in pain your day will be ruined. Do not take your boot fitting lightly and spend the most time on this section. Here are some aspects of boots:
A perfect fit for a pair of boots should be a tight, stable fit over the top of your foot and around your upper ankle. They will resist slightly when you lean forward and flex, but still allow for a comfortable range of motion without pressure points. Your toes should barely brush against the toe box and your heel should be firmly held into the heel cup of the boot.
When choosing a pair of proper fitting snowboard boots, your toes will barely brush up against the end of the boot liner while standing in place with the boot fully laced up. Your toes should not curl or feel any pressure on the tips of your toes, but rather just graze or be as close as possible to the end of the boot liner. As you bend your legs and crouch down into a snowboard-ready stance, you should feel your toes pull back ever so slightly resulting in a proper fit. It is important to note that you should always wear a proper pair of snowboarding socks when trying on boots and while riding.
Your snowboard boots will be the tightest they will ever be the first time you try them on. Over time, the padding inside your boot will “pack out” some (up to a half size), creating more space and a less “snug” fit. Some people make the mistake of buying boots that fit like shoes when they’re new, with extra room in the toes. This feels great when you’re initially standing or walking around, but will lead to heel lift and foot cramps when you’re actually riding due to your feet and lower legs working excessively hard as they try to compensate for the “slop” of loose boots.
– Tactics.com
I like this explanation because they emphasize that your boots may feel too tight when you first try them on. This is important because ALL boots stretch. If you have wide feet like me, I enjoy Adidas boots like the ones found here.
Choosing Bindings
Again, there is so much technology behind bindings my main concern is durability and reliability. What is not only going to last me the longest, but where can I find parts easily? Some of the most common binding companies that I have owned and currently use include:
Burton
Union
Rome
The same requirements of bindings apply as to types of snowboards. This comes down to mostly the flexibility of the binding, responsiveness, and adjustability. This includes:
All-mountain: Flex depends on needs but often medium.
Freestyle: Softer and allow for greater maneuverability
Freeride & Splitboard: Stiffer flexibility for responsiveness
Powder: Stiffer flexibility for responsiveness
Strap versus Speed-entry: We are now seeing an influx of speed entry bindings that require no strap but simply stepping on to the binding. They normally require a specialized boot (not always) and can save time without bending over. It all comes down to personal preference and most of all, budget!
Waxing Your Snowboard
For many of you, if you end up renting a snowboard from the mountain it will be pre-waxed for you. Or, you can choose to pay upwards of $30 to have an employee wax it for you. But, if you are eager and love to learn, waxing can be so much fun. We usually invite friends over, blast some music, crack a couple of beers and make a fun time out of it. Why do we wax in the first place? Essentially it comes back to that frictionless surface so the board can glide over terrain and not reduce speed. If you want a great article I wrote on 10 easy steps to waxing your snowboard check it out here:
Snowboarding Etiquette
The most important etiquette to know while on the mountain is that you are responsible for the skier/ snowboarder ahead of you. It does not matter if they are erratic or unstable, it is your responsibility to give them enough space on the mountain.
The mountain is not a race track. If you think its dangerous and inappropriate to bomb the groomer with kids around, it probably is.
Be kind on the lift. Many people are anxious and eager to get up to catch first lines but that does not give you an excuse to be an asshole. If you are honest that you are new at this, most people are understanding and will be patient while you learn.
Thank your local resort employees. They don’t want to babysit you or hear your complaining. Trust me, they would much rather be snowboarding with you…
Do not be an asshole to new riders. This is my biggest gripe with the snowboard community in making fun of new riders because of their inability. We all started as new riders. We should be uplifting one another to grow the sport, not putting others down.
Check your ego at the door. No one cares if you fall
Safety first, always
How do you improve?
Repetition, repetition, repetition! No but seriously, the mountains have wonderful coaches that are willing to put the time in to teaching you. I highly recommend paying for 1-2 lessons to get a great foundation. Be honest with your coach and let them know where you are at in your skill level. If they are a good coach, they will meet you where you are at and teach you what you want to know. If you are a self paced learner, here are a few of my recommendations from coaches/ athletes/ friends. I am not a snowboard coach but below you will find wonderful and free resources to continue your growth:
Snowboarding Archive: Expert on gear and rips on a board
Casey Willax: Killer on the board and even better human being
Johnathan Buckhouse: Awesome dude and great teacher
Tommie Bennett: Has all of the highest coaching certifications, great teacher, and fantastic snowboarder
Ed Shreds: Great Teacher for all around snowboard improvement
Snowboard Pro Camp: Legend amongst the community
In regards to off mountain training, I highly recommend strength training and mobility work for improvement. Snowboarding is an extreme sport and if you want to make the most of your time on the mountain and continue to progress, off mountain training is vital. I may be bias but I created this course specifically for snowboarders so check it out:
For mobility, we have our SNOGA program for weekly yoga classes dedicated to snowboarders and improving their performance.

How do you prevent injury?
The truth is, you cannot 100% prevent injury while snowboarding. As I mentioned above, snowboarding is an inherently dangerous and extreme activity. We train off the mountain to prevent injury and have an overall better time on the mountain. Here are a few great reads to decrease your chance for injury on the mountain:
The most common snowboard injuries
How to build muscle faster to prevent injury
Risk factors for snowboard injuries
Foot Pain while snowboarding?
Conclusion
This is certainly not everything involved with snowboarding but its a great foundation. As you continue to learn and grow, your snowboarding knowledge and interests will also grow. There are numerous communities to continue your education including:
Facebook Snowboard Community
Reddit Snowboard Community
If you have any questions or would just love to say hello, please feel free to contact us here
Keep on shredding and have a wonderful winter!
References:
- https://www.smithsonianmag.com/innovation/brief-history-snowboarding-180979233/
- https://www.ibisworld.com/industry-statistics/market-size/ski-snowboard-resorts-united-states/
- https://www.rei.com/learn/expert-advice/snowboarding-glossary.html
- https://www.sportsrec.com/217011-the-best-snow-skis-for-east-moguls.html
- https://snowslang.com/ski-trail-ratings
- https://www.rei.com/learn/expert-advice/snowboard.html
- https://ozextreme.com.au
- https://www.tactics.com/info/choosing-snowboard-boots
- https://www.rei.com/learn/expert-advice/snowboard-bindings.html
- https://www.facebook.com/aoteashapes/
By no means an “expert” but wanted to offer some updates. in the Terms section “Backside” is not only done in the pipe, this can be done as a spin off a straight jump. Spinning backside or a “back 3” means starting the spin and turning your back to the downhill side first. Frontside is a type of air in the pipe but just like backside can be done as a spin off a straight jump and is not always done off the toes. A Tindy is more specifically grabbing with your trailing hand on your toe edge on the outside of the rear binding and before the tail. A proper indy grab should be between the bindings.Similarly you can do a tailfish by grabbing what should be stalefish but on the outside of the rear binding, both are considered incorrect. In the common tricks section an Indie grab can have the board higher than the head in a pipe but not on a straight jump. Same for a Method. Might have been too technical,
Thank you Justin! I will be sure to adjust this. We appreciate your input!
Thank you
You are very welcome William! Thanks for reading